How to Create a Landing Page on EarlyAccess
Learn how to get the most out of EarlyAccess with a functional landing page.

EarlyAccess
Fastest Waitlist Page Buidler
February 21, 2024
Learn how to get the most out of EarlyAccess with a functional landing page. This step-by-step guide shows how to build a product landing page and optimize EarlyAccess's efficient features.
Step 1: Get Started
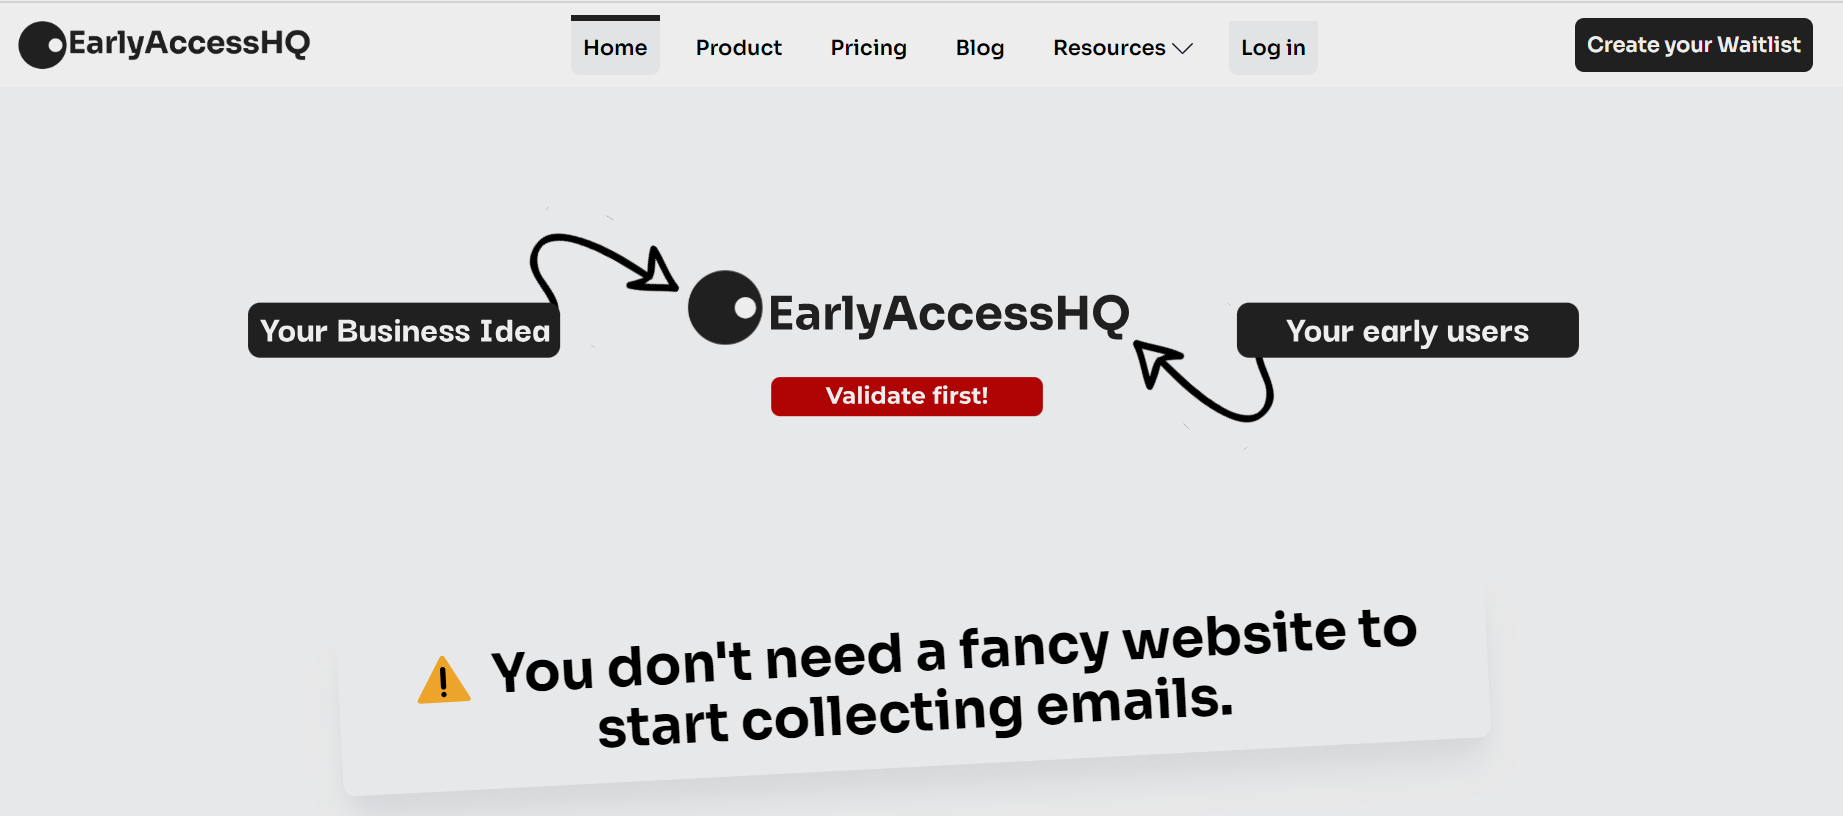
Sign up using email or Google to start using EarlyAccesshq.com. Then, Click on Create your Waitlist and start creating your first landing page.
Step 2: Add Product Details
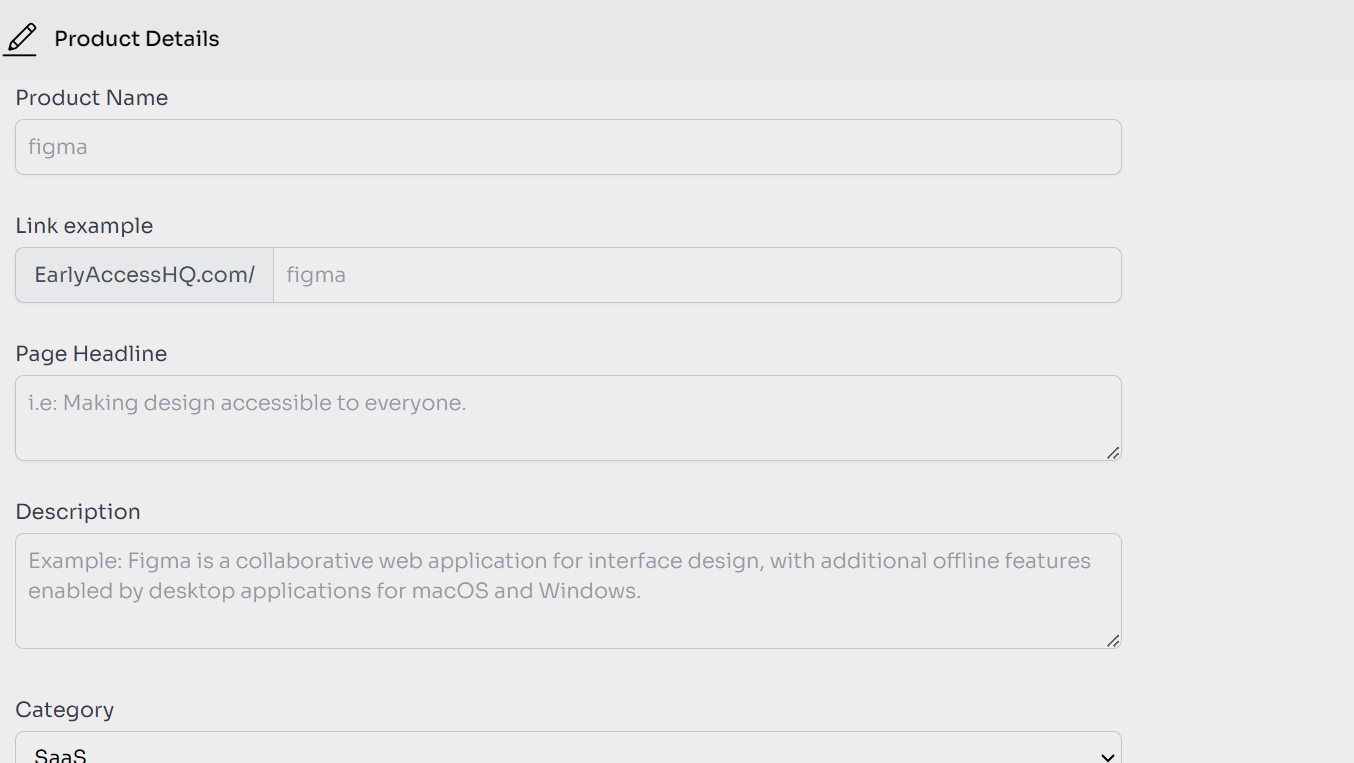
Click Add Content to open the Product details page. Enter all the product details in all the sections to maximize the features available for your landing page.
You have a variety of fields to fill in, including the product name, slogan, domain name, and category. The best part is the Waitlist feature that allows you to start collecting client emails.
You can add promo videos from YouTube, payment options, and the product's social media channels. Include your clients' testimonials and a FAQ section to cater to common concerns.
Remember to select ON to activate features that have it to add them to your landing page.
Step 3: Save and Preview
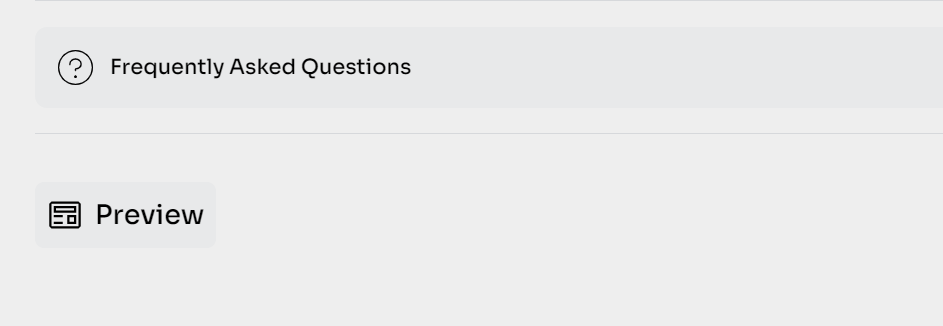
After adding all the features you want on your landing page, click Preview to save your content. The preview opens on a new page where you can see details of the draft website.
If you need to make changes to the content, navigate back to the Add Content page at the top of the page.
Step 3: Publish Your Site
If all is well, click Publish to launch your landing page online. You will receive a notification that your site has been published.
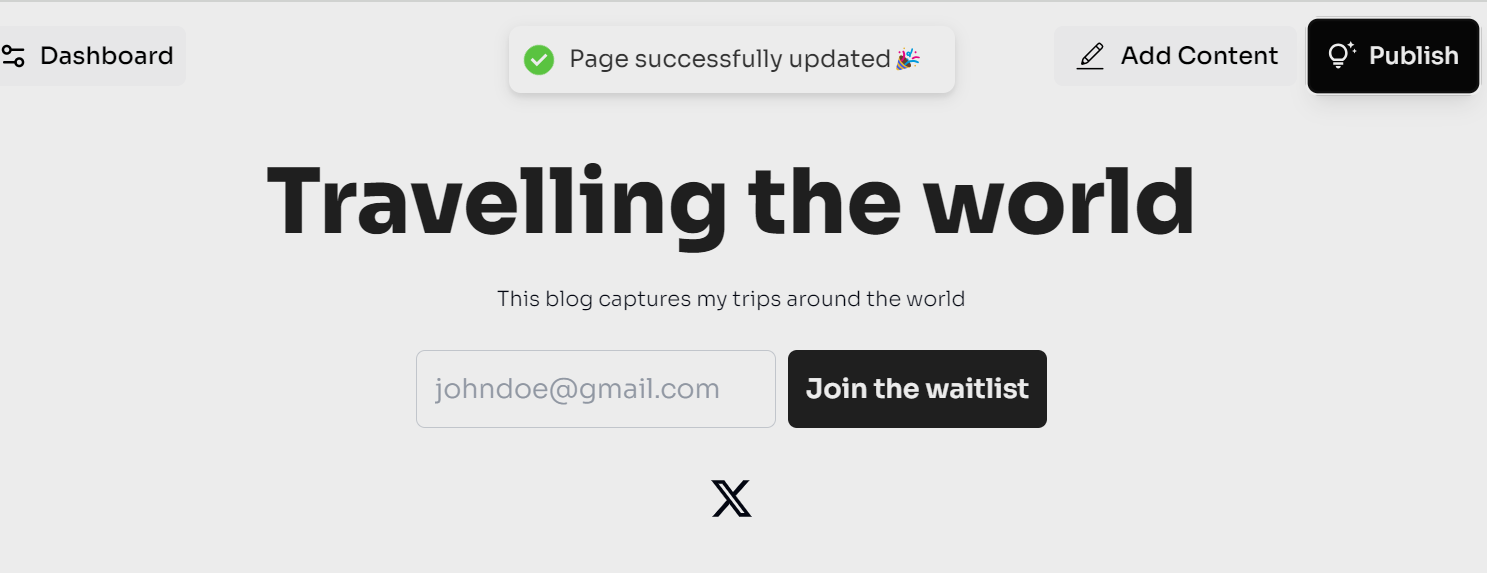
Step 4: View Your Landing page
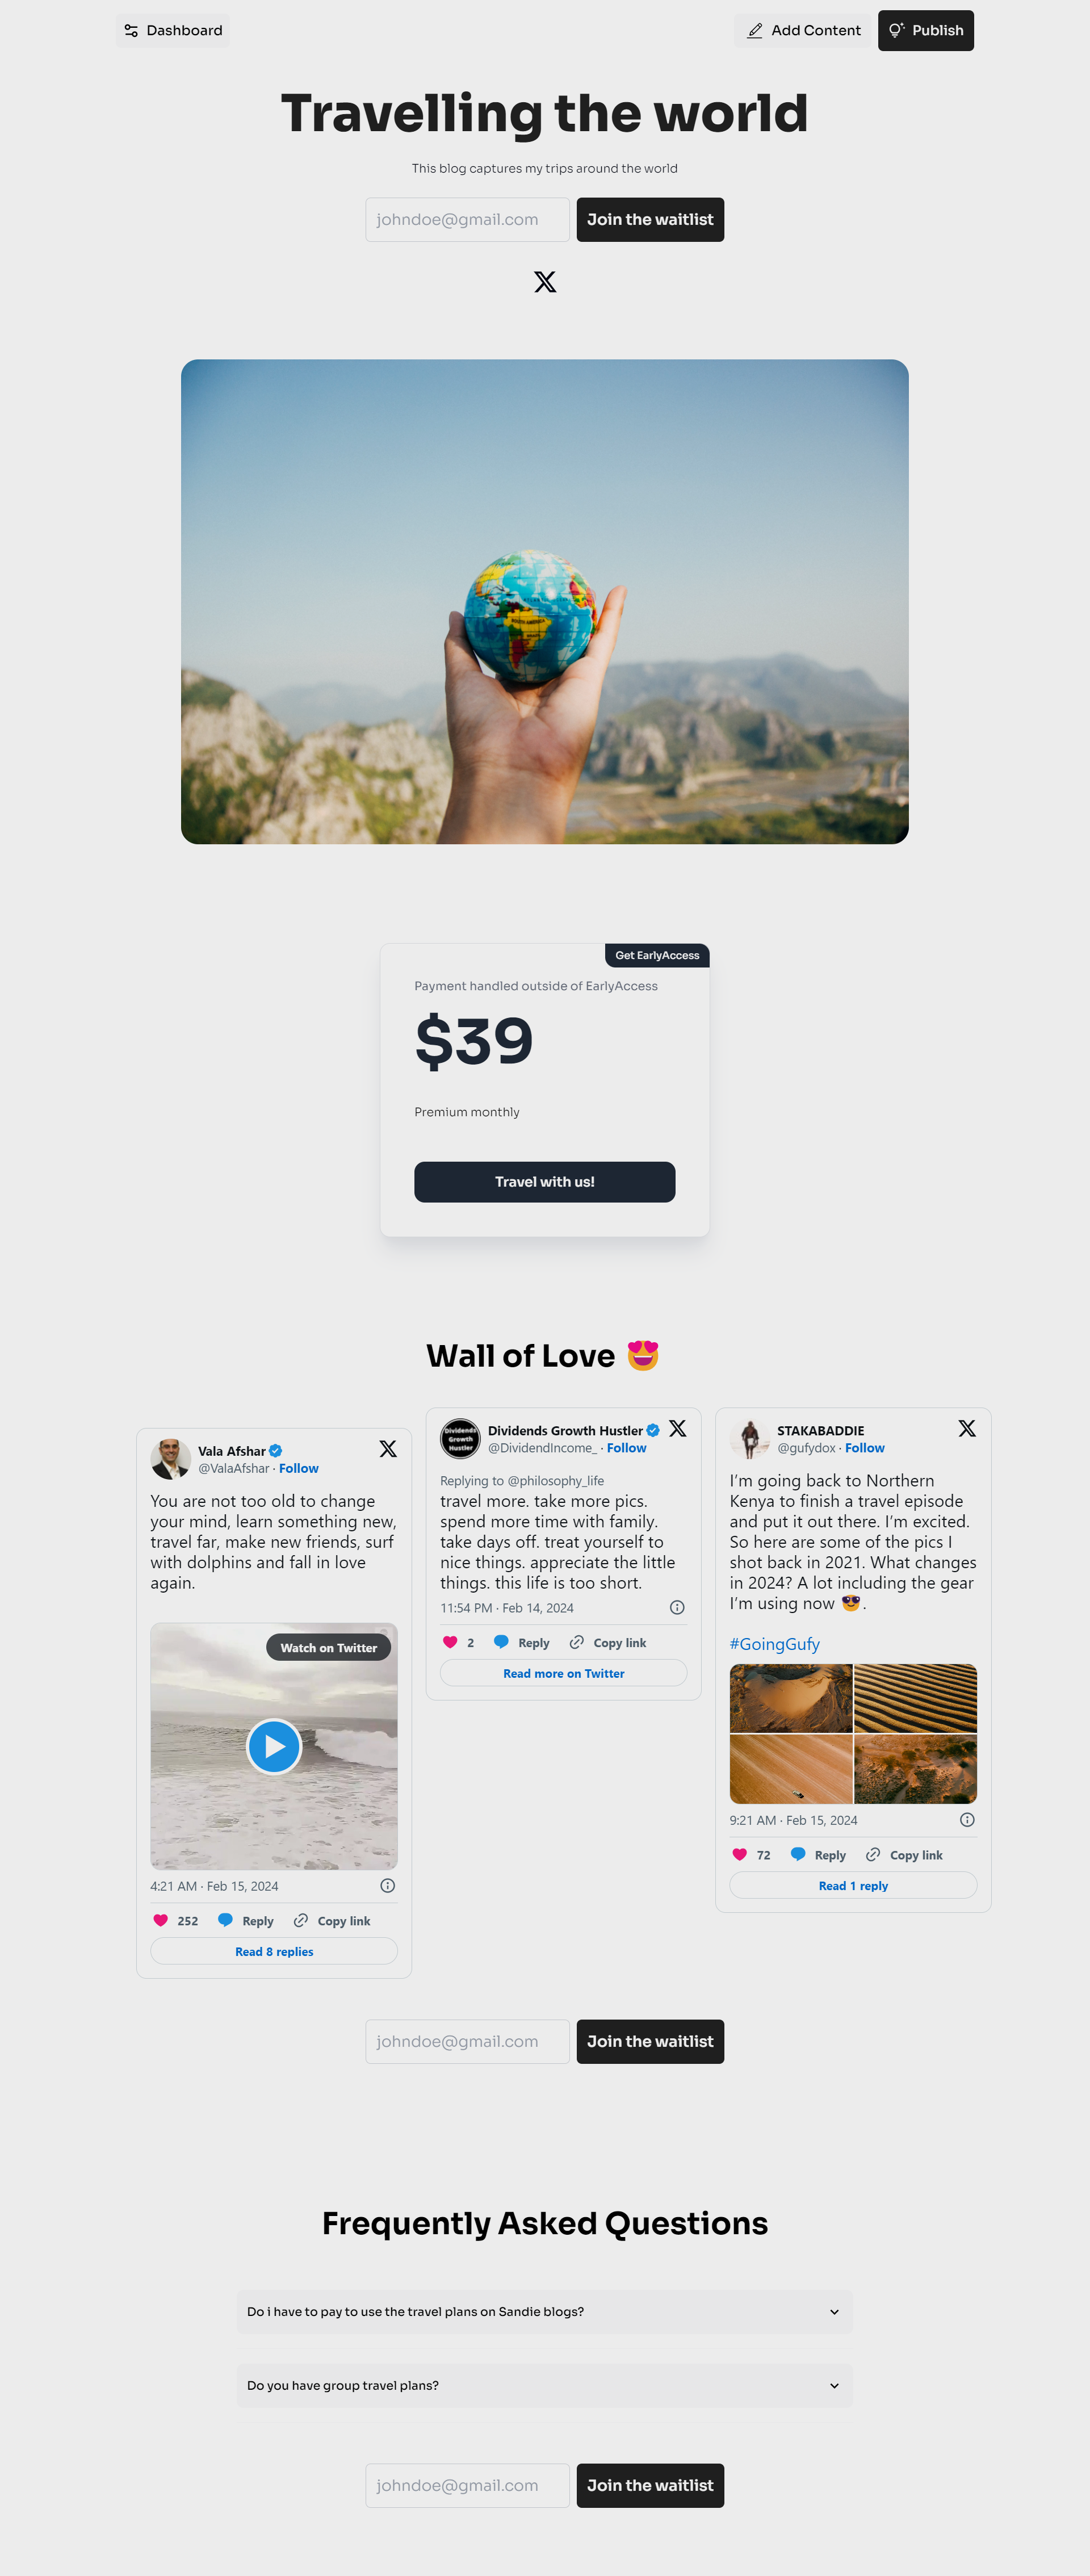
Congratulations!, you have just created a new landing page. You can now start sharing your URL and invite potential clients to test the product.
Voila! Here's your landing page!
Other guides
The Fastest Waitlist Page Builder
Create your Waitlist
No coding required
