How to Create a Waitlist Page
Start generating leads with the EarlyAccess waitlist builder


EarlyAccess
Fastest Waitlist Page Buidler
February 29, 2024
EarlyAccess provides a user-friendly waitlist with a simple interface suitable for all founders regardless of technical background.
The waitlist incorporates advanced features tailored for businesses seeking to optimize their marketing campaigns. Attracting and involving early adopters through the waitlist feature is now simplified with an appealing graphical interface.
The waitlist feature has enhanced customization options, settings, and payment integrations, fostering a branded and personalized marketing experience.
How to Create a Waitlist
Step 1: Access the Waitlist Feature
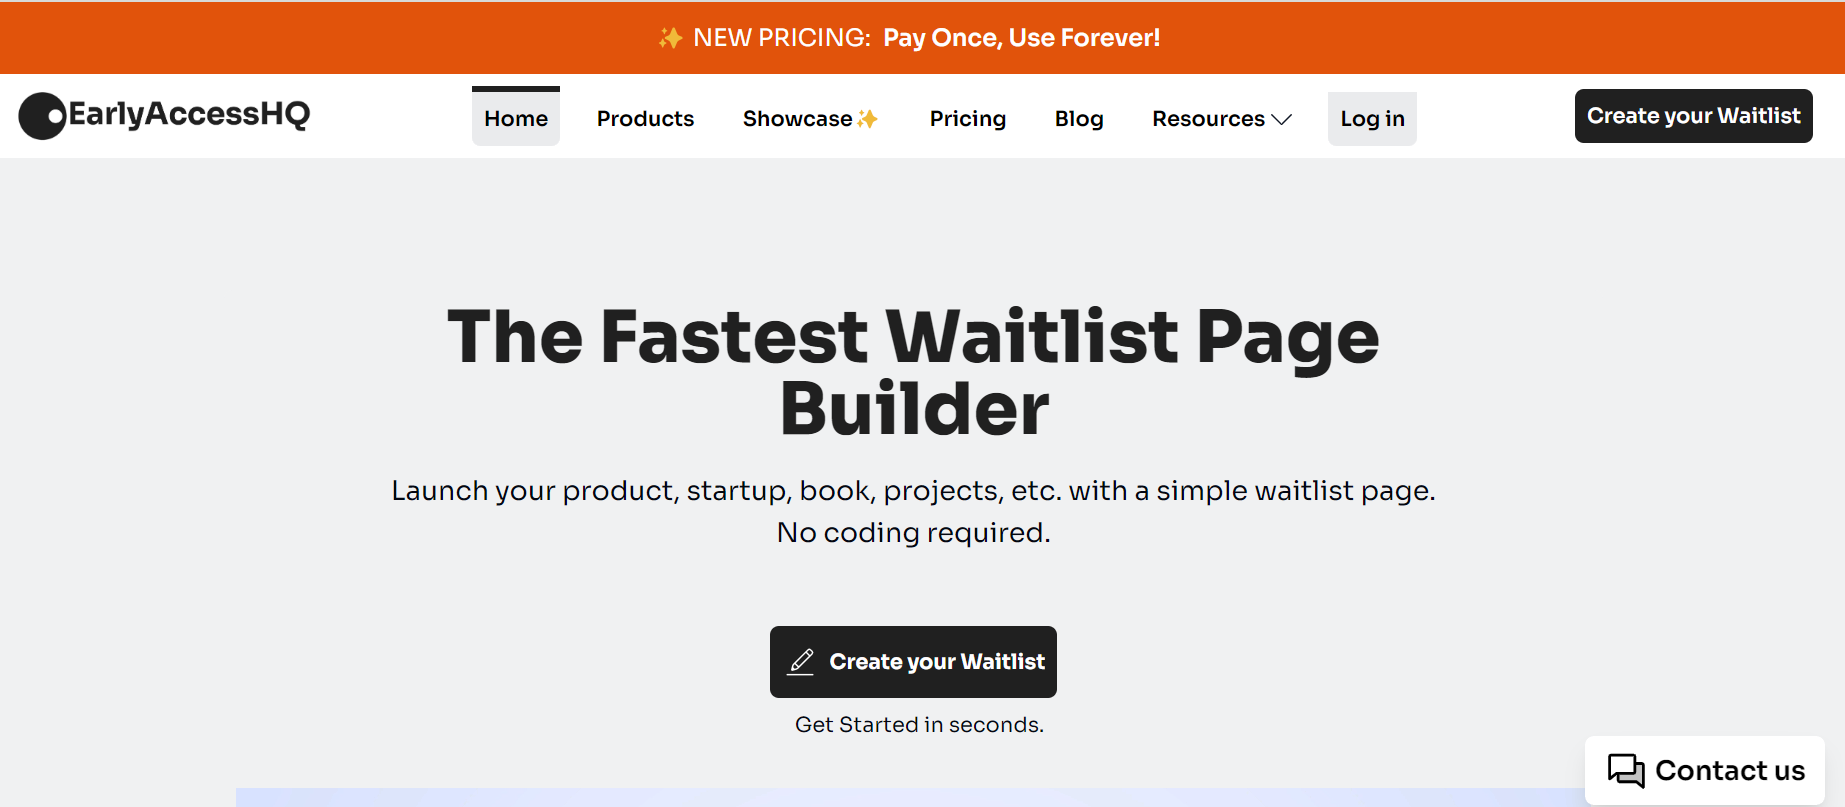
Navigate to the Create a Waitlist feature on EarlyAccess. You can log in if you have an account or create one following the waitlist creation process.
Step 2: Add Content
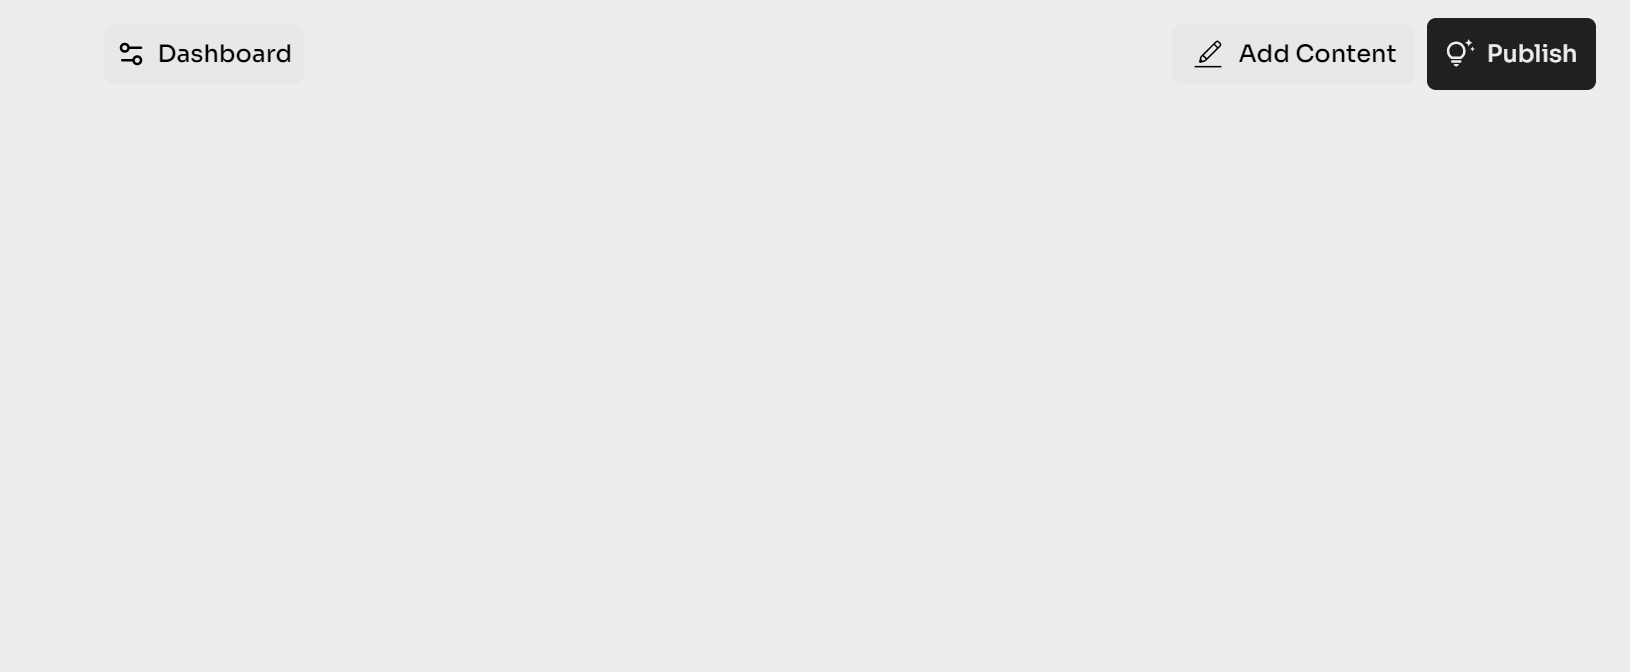
On the next page click Add Content to go to the product details page.
Step 3: Add the Waitlist Feature
Open the Product Details section and add the necessary product descriptions.
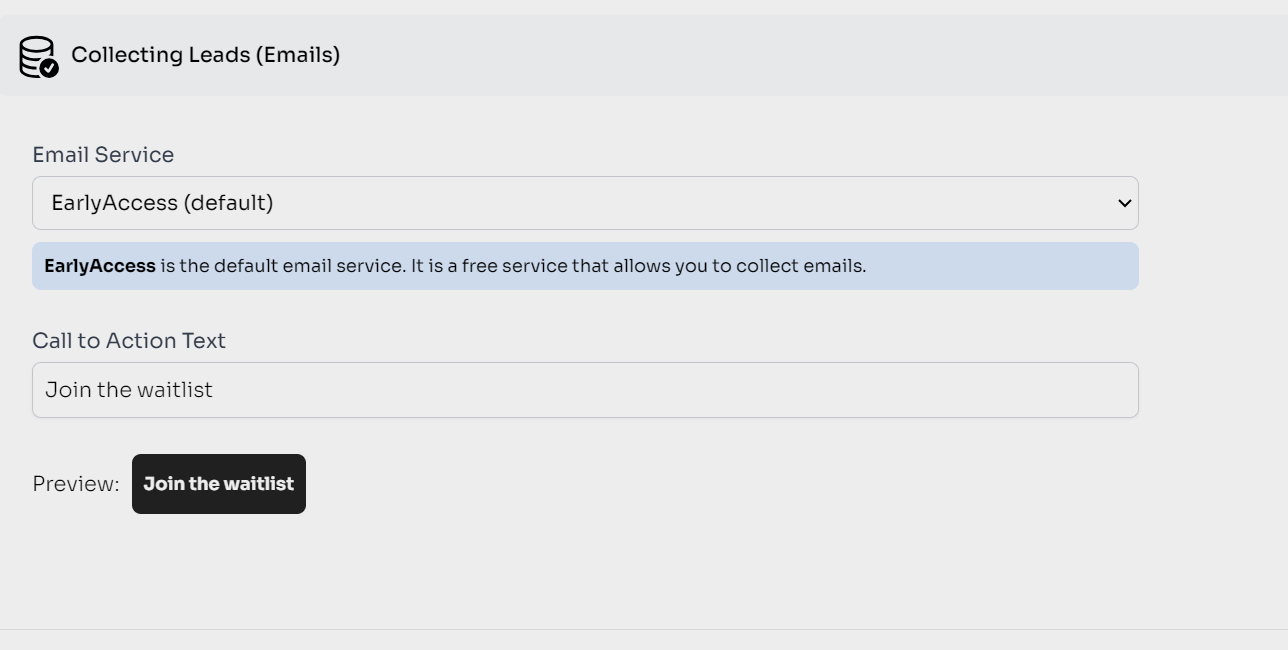
Scroll down to the Collecting Leads (Emails) section. Choose the default EarlyAccess Email service. Add a catchy call-to-action phrase to entice users or use the default one.
Step 4: Publish the Waitlist
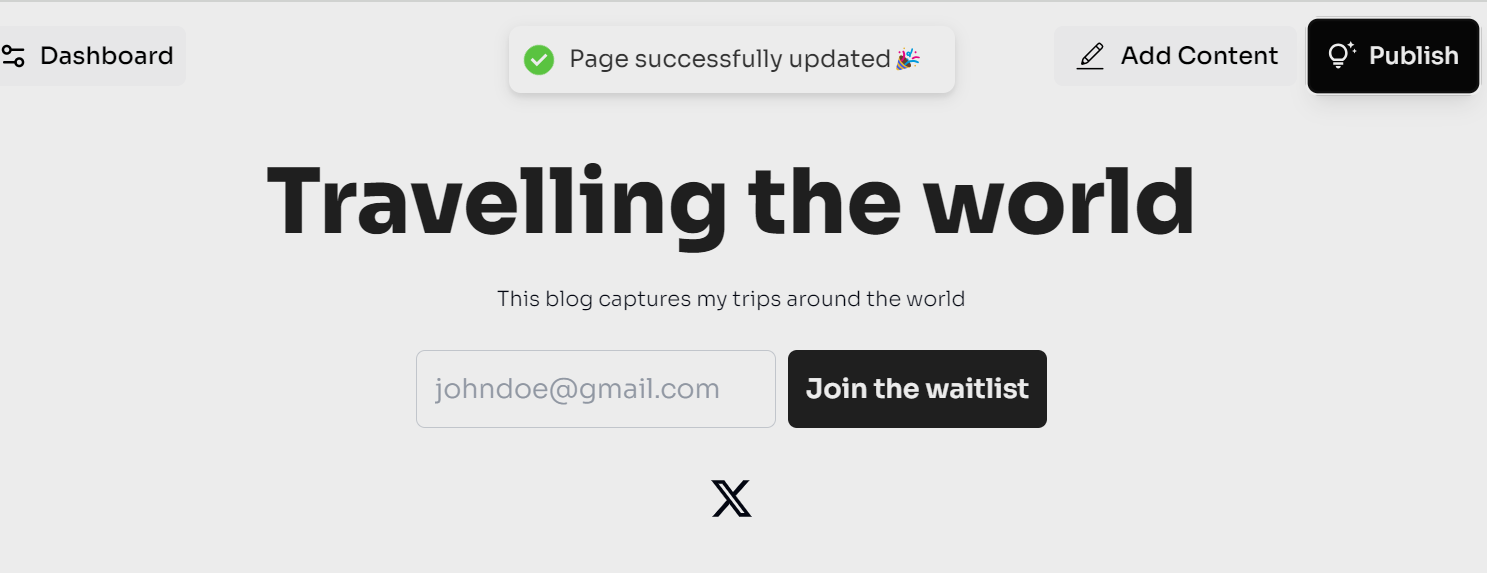
If you're satisfied and don't want to add anything else to your landing page, scroll down and click Preview to save and see a draft of the page. If you're happy with the preview, click Publish to make your page live on the web.
Step 5: Add Emails
To test the EarlyAccess waitlist feature, begin by adding emails in the Join the Waitlist section on the landing page.

Step 6: View Collected Emails
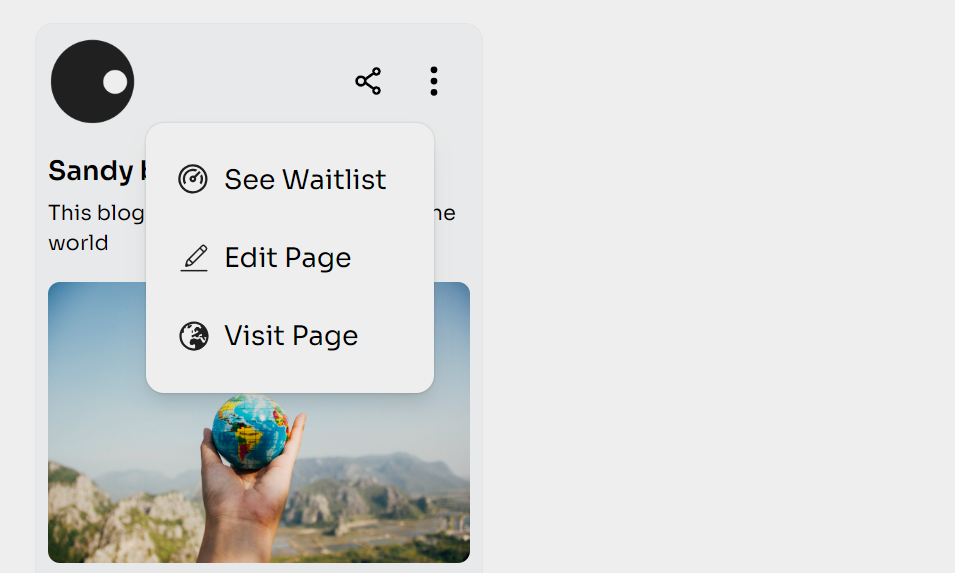
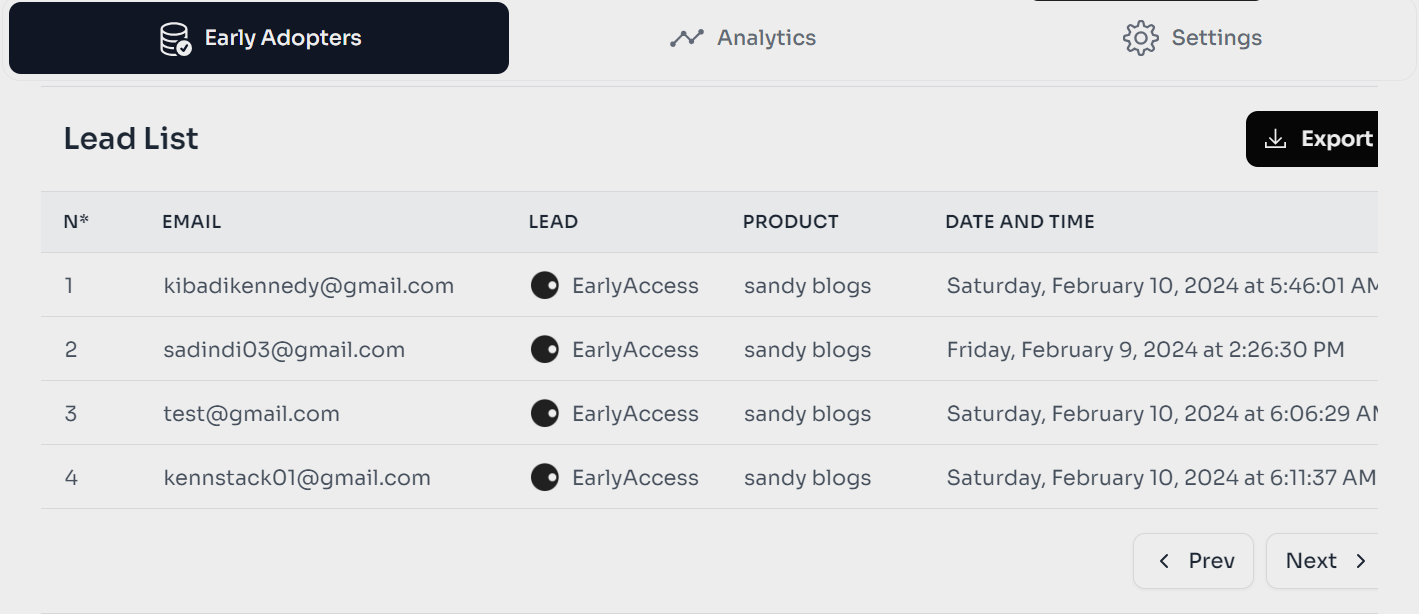
To access the collected emails, go to the Dashboard on the landing page. From there, you can view a list of your projects and additional supportive resources.
Step 7: View Waitlist
To access the waitlist page, click on the three dots located at the top right corner of your project. Then, click Dashboard to view the waitlist.
Step 8: Export your waitlist
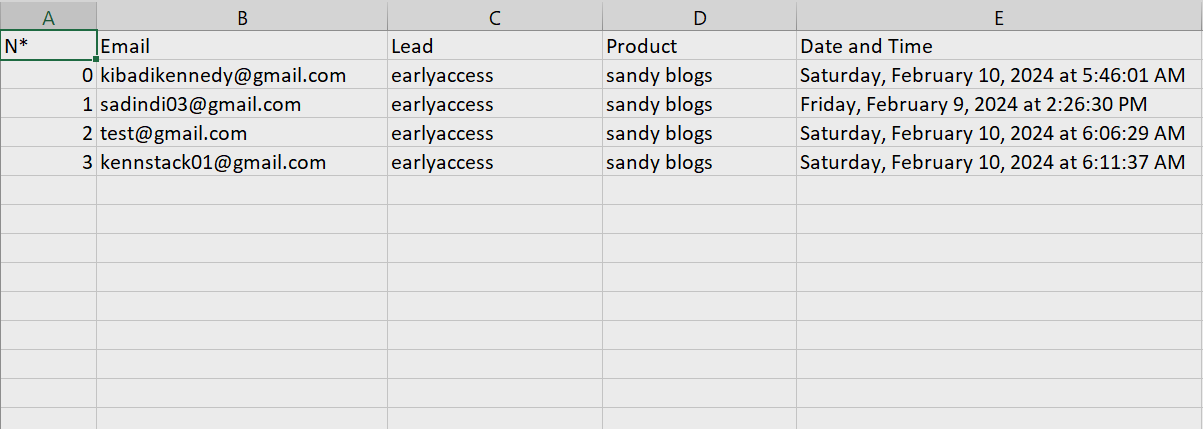
You have the option to export your waitlist and save it to your device. Select Export and the list will download automatically. Here's an example of an exported list in Microsoft Excel format.
Your waitlist is set up and ready to go! You can now begin crafting email marketing campaigns to promote your users.
Other guides
The Fastest Waitlist Page Builder
Create your Waitlist
No coding required

